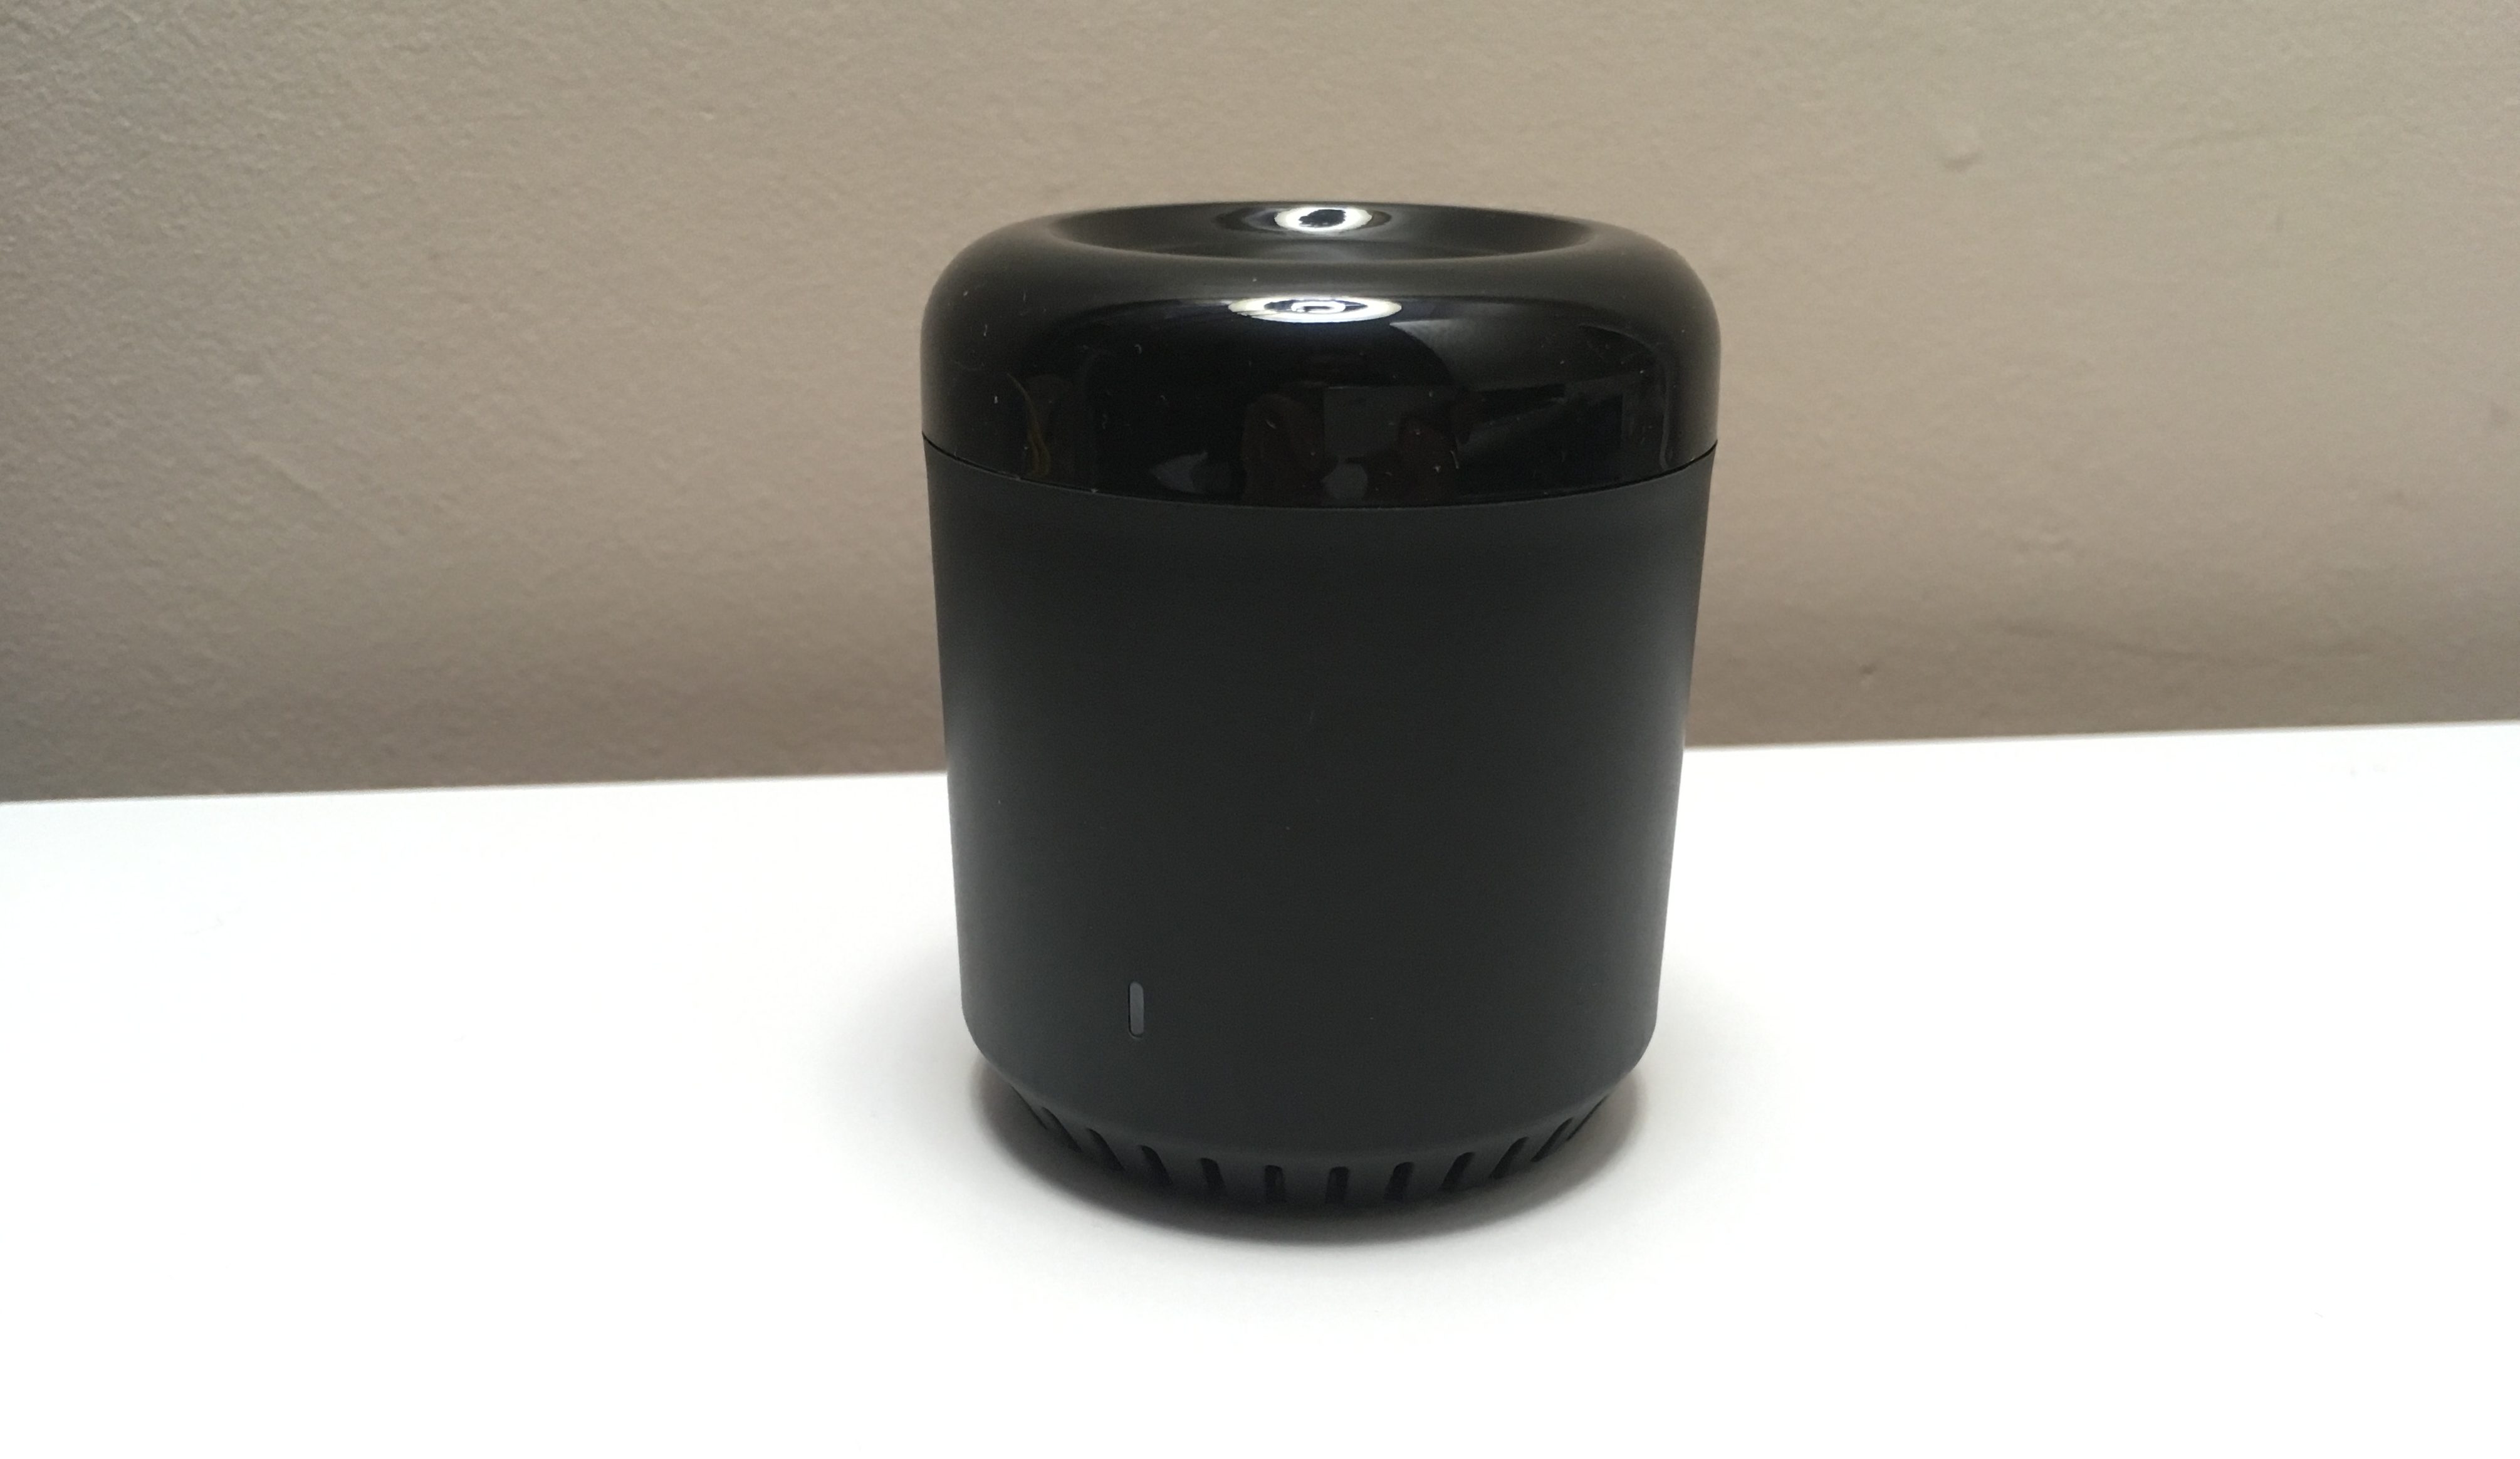
Today I discovered the powerful device Broadlink RM 3 Mini IR Controller.
I purchased one of this last month, and arrived in 15-20 days as is usual with bangood purchases. I followed the instructions for connect it to my WiFi network and I did some test with my air-conditioner unit.
It works fine, you starts the Smartphone App, push on the action icon and then the RM3 Mini switchs to learn mode (white led). At this moment, you pulse the appropiate button on the original remote control pointing to the RM3 Mini, and this funtion is learned, saved in the Smartphone App button and white led is switched off.
Well, until here it’s correct… but… If I have an OpenHAB server with some other devices and sensors, why not could I add this new toy?!?!?
Then I started a search and after few minutes I found the solution: https://github.com/davorf/BlackBeanControl
Everithing is already invented!!
Mainly this invent is:
- [Raspberry]
- Install pip package:
wget https://bootstrap.pypa.io/get-pip.py - chmod 777 get-pip.py
- Run ./get-pip.py
- Install python-dev package: apt-get install python-dev
- [Synology]
- python get-pip.py
- python -m pip install requests
- Install configparser package: python -m pip install configparser
- Install netaddr package: python -m pip install netaddr
- Install pycrypto package: python -m pip install pycrypto
Download python-broadlink package from: https://github.com/mjg59/python-broadlink
or
clone it from github: sudo git clone https://github.com/mjg59/python-broadlink.git - Enter to the python-broadlink folder: cd python-broadlink
- Unzip it to some local folder and install it: sudo python setup.py install
Arrived to this point, only download BlackBEanControl and configuration is needed:
- mkdir ~/BlackBeanControl && cd ~/
- sudo git clone https://github.com/davorf/BlackBeanControl.git
- Edit BlackBeanControl config file: nano BlackBeanControl.ini
- Add your device configuration under [General] section:
[General]
IPAddress = 192.168.x.x
Port = 80
MACAddress = B4:43:0D:FC:18:xx
Timeout = 10 (time used to learn when a command is not known)
- Move BlackBeanControl files to some easy-remembered path. LAter form the items config file you will call to it. for example to /usr/share/openhab2/exec/ folder.
In BlackBeancontrol file exist a [Commands] section that will be filled with the commands learned by the RM3 Mini during the first time that you execute a new command.
OK, so… now the only step that we need to do is start the command learning in order to our BlackBeanControl python script will save each action of the original remote control:
- First of all, replace the first line of BlackBeanControl.py, due to the python interpeter is called not correctly:
#!/usr/bin/env python
for
#!python2
- Run ./BlackBeanControl.py -c AirON (or another command name!)
- NOTE: If you get this error:
Traceback (most recent call last):
  File "./BlackBeanControl.py", line 167, in <module>
    RM3Device = broadlink.rm((RealIPAddress, RealPort), RealMACAddress)
TypeError: __init__() takes exactly 4 arguments (3 given)
You must do this modification in BlackBeanControl.py:
sudo nano BlackBeanControl.py
CTRL+_ --> GoToLine 167
Change line 167 to
RM3Device = broadlink.rm((RealIPAddress, RealPort), RealMACAddress, RealTimeout)
- At this momment the RM3 Mini led has been changed to fixed white color, and you will have 10 seconds (Time out value defined in .ini file) for press the corresponding button on the original remote control pointing to the RM3 Mini device.
- After this seconds, the white led will switch off, and the console prompt will respond other time. If you take a look to the .ini file at this time, you could see the IR value saved from the remote control for this command:
-
[General]
IPAddress = 192.168.x.x
Port = 80
MACAddress = B4:43:0D:FC:18:xx
Timeout = 10

[Commands]
AirON = 2600f6006c370d0f0d0e0e290c100d290d0f0d0f0d0f0e280d2a0d0f0d0e0e0e0e290d290e0e0e0e0d0f0d0e0f0d0d0f0d0f0d0e0e0e0e0e0d0f0e0d0e0e0e290d0f0d0e0e0e0d0f0d0f0d0e$
AirOFF = 260066006c360d0f0d0e0e290d0f0d290e0e0d0f0d0f0d290d2a0d0f0d0e0e0e0e290d290e0e0d0f0c100d0f0d0e0e0e0d0f0d0f0d0e0d0f0d0f0d0f0d0e0e290d0f0d0e0e0e0d0f0c100c0$
It’s time to go to our OpenHAB configuration and add a new Item.
- If you don’t have teh Exec Binding activated, go to PaperUI Extensions webpage and INSTALL it: http://openhab:8080/ui/index.html#/extensions
- Edit our /etc/openhab2/items/items.item file and add:
Switch AirSwitch "Aircon" (LivingRoom) [ "Lighting" ] {exec=">[ON:python /usr/share/openhab2/exec/BlackBeanControl/BlackBeanControl.py -c AirON] >[OFF:python /usr/share/openhab2/exec/BlackBeanControl/BlackBeanControl.py -c AirOFF]"}* Don’t forget the [ “Lighting” ] parameter after Scene value in order to Homekit addon could be detect and show in iPhone App HomeKit
- Edit our /etc/openhab2/sitemaps/default.sitemap file and add:
Switch item=AirSwitch icon="climate-off"
And the last step is going to our iPhone HomeKit App and magically our new switch control shall has appeared and we could switch on or switch off with Siri’s help!
Enjoy it!!
Heve you tried this integration with OpenHAB using Alexa? can I control all the features of an A/C (IR Based mini split system) with this device and OpenHAB using Alexa?
Question: “BlackBeancontrol file exist a [Commands] section“ – where do I find that when having a “Repository Installation“ on Raspberry?
UPDATE – Couldn’t get his to work, turned out it works perfectly with the legacy version 1 binding but doesn’t work with the updated version 2 binding as the new version requires a thing entry. You can get it working by uninstalling the V2 binding, enabling legacy bindings in add-on management and installing V1. There is also an unofficial broadlink binding available.
When I try to run BlackBeanControl.py -c TvPower (or any other command) I get the reply: command not found. Why is this and what can I do to get it running?
Hi, It’s necessary the Broadlink Cloud for operate the RM?
Hey I tried, all setup went fine fir RM mini 3 python control but when i executed script to make it learn white light didnot turn on and device didnot learn any IR code